

How to Install Carpet Tiles
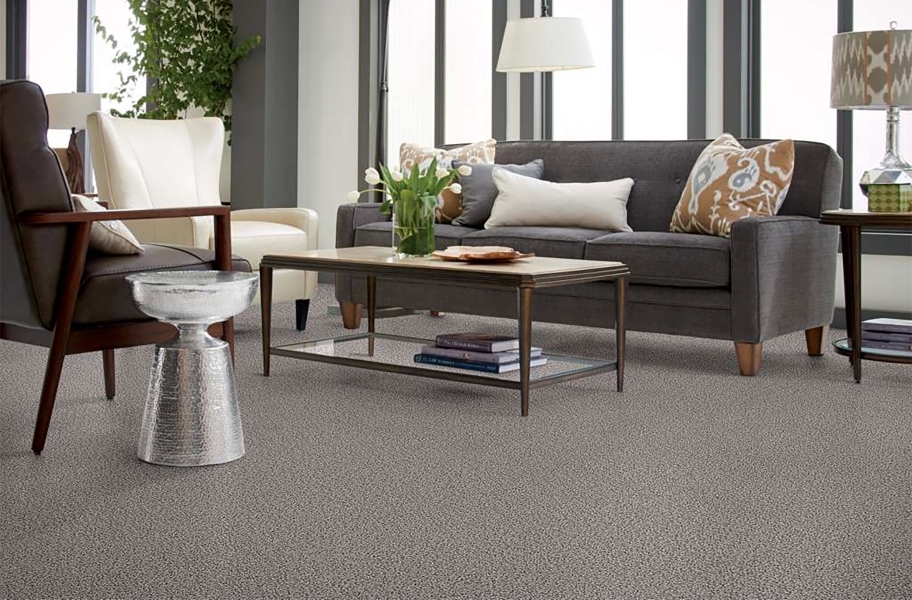
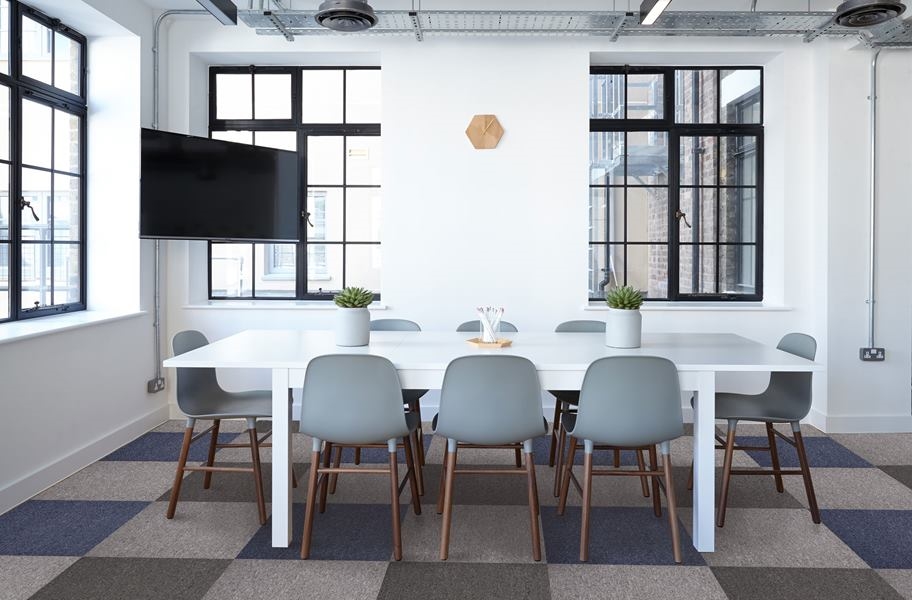
Carpet tiles are a durable, easy to install alternative to carpet roll flooring. You can use them almost anywhere including a kid’s playroom, office, or even a home gym! The possibilities are practically endless! Plus, if you encounter a pesky stain, you can just replace that piece rather than driving yourself crazy trying to get it out.
They’re perfect if you have kids and/or pets, and the installation is a breeze. Best of all? You can save yourself a fortune on an installer by following this easy step-by-step guide and installing them yourself.
I’m sure you’re excited to get started installing your very own carpet tiles. So let’s jump in!
| Related Content >> The Best Carpet Tile Options |
Preparation, Tools, and Materials
Even with the most DIY-friendly installation, you’ll need the right tools for success. Gather up your equipment before you get started. Here’s what we suggest.
Once you have everything you need, make sure the subfloor is ready for installation. The floor should be smooth, level, and clean. Repair any cracks, level any dips, and sweep up and dust or dirt.
Then you’re finally ready to install. Depending on the type of carpet tile you purchase, the installation methods will be slightly different. Here are the steps for each kind of carpet tile.
| Related Content >> Carpet Tile Buying Guide |
How to Install Peel and Stick Carpet Tiles
If you want easy, peel and stick tiles are the way to go. The adhesive is already applied to each tile and all you have to do is pull back the plastic sheet to expose it. Simply place the carpet on the floor, and press down to make sure it sticks. That’s all there is to it!
Some adhesives leave a residue on the subfloor but some do not. There’s an easy way to test! Place your hand on the adhesive and pull it away. If your hand is sticky after, it will leave a residue on the floor, but it’s is easily cleaned up.
- Find the center point between the two longest walls, and mark near each end of the room. Connect the center points with a line. Using a carpenter’s square, draw a perpendicular line crossing the first line at the center point. Extend the perpendicular line to the walls.
- In one swift motion, remove the protective backing and place the first tile in the junction of the two lines at the center of the room. Lay tiles from the center of the room working out.
- Continue installation to the walls until you are unable to lay a full tile.
- To install the partial tiles around the edges of the room, lay a full tile upside down, with the pattern in the proper direction, and overlap the last tile installed near the wall. Mark a straight line on the bottom of the tile where the tiles overlap. Cut the bottom of the tile along the line. After cutting, lay the tile with the cut edge to the wall.
How to Install Glue-Free Carpet Tiles
There are many glue-free carpet options. To install, simply purchase double-sided carpet tape. Using this tape method, you can cover the whole floor, or create a custom-made area rug.
For a room with high-traffic, you’ll need a pressure-sensitive adhesive, or glue, to keep the tiles in place more permanently.
- For wall to wall installations, tiles can be secure with double-sided tape with sticky tabs at the corners.
- Use either sticky tabs or double-sided carpet tape to secure carpet tiles. Adhere four tiles for every one sticky tab or tape piece.
- When you reach a wall or obstruction, measure tile, and cut away the excess material.
- Put the cut tile into place and repeat with remaining tiles until the space is filled.
Please note: For commercial or permanent installations, you will need to use glue. A pressure-sensitive adhesive or acrylic adhesive would be recommended to keep the tiles in place.
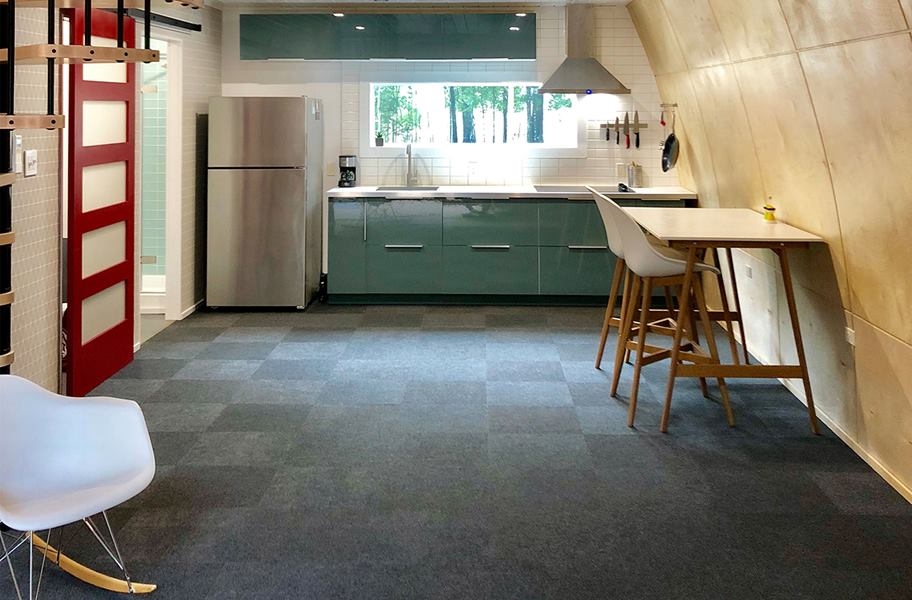
How to Install Interlocking Carpet Tiles
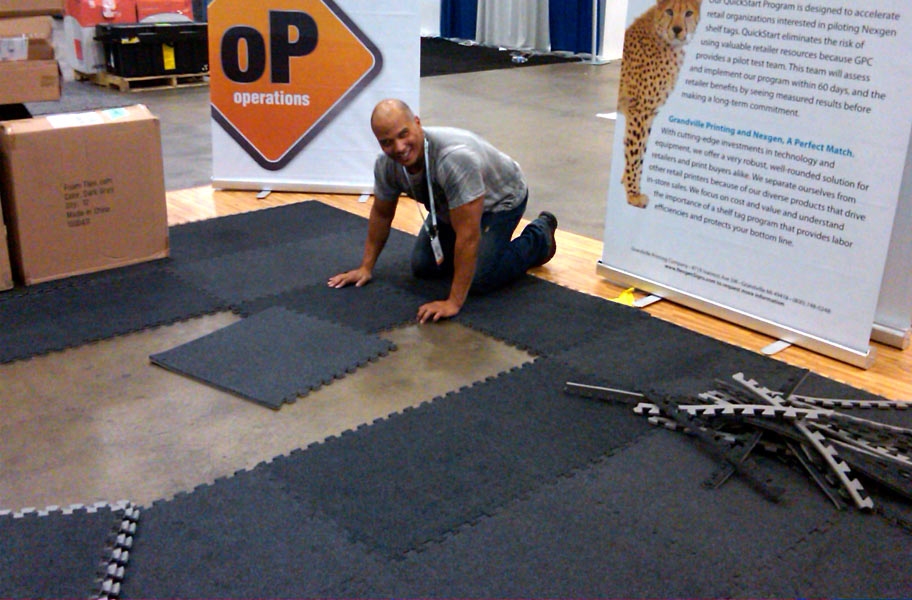
Interlocking carpet tiles can either have interlocking edges like a puzzle piece, or plastic attachments that click together and aren’t visible once installed.
Tiles that connect using interlocking edges join together as if you’re putting together a puzzle. They may come with a finished edge, or you can cut them to have a finished edge.
- Start in one corner of the room with a corner tile, and add border tiles outward along the adjacent walls.
- Add center, corner, and border tiles where needed until you cover the floor up to the opposite wall.
- When coming up to an opposite wall, make sure you cut the tiles to fit the area, leaving a gap that’s roughly the thickness of the tiles being used to account for expansion and contraction of the floor tiles in varied temperature ranges.
Note: Some interlocking tiles have a plastic backing with pegs and loops that snap together. If the tile has a plastic backing, just click them together using the peg and loop mechanisms on the side.
Conclusion
Carpet tiles are extremely versatile, easy to install, and easy to maintain. They are the perfect option for anyone who loves carpet but is worried about upkeep and installation. Have questions? Leave a comment, shoot us an email, or even try our live web chat, and we’ll make sure we get you all fixed up.
ORDER FREE SAMPLES SHOP CARPET TILES
Ari Ziskin is our resident expert in all things fitness, dance and flooring trends. After five years of blogging at Ari’s Menu, where she was featured on sites like The Huffington Post and Buzzfeed, Ari decided to pursue writing full-time. Nothing makes her happier than sharing her knowledge to help people create their gyms and begin their fitness journey.
5/8" Eco-Soft Carpet Tiles
Our interlocking economy soft carpet tiles are an ideal choice for a low cost carpet tile. These discount tiles are light weight, easy to install, and portable. These tiles are also slightly less durable than our standard soft carpet tiles and therefore have a lower price.
Shop Now >>
Shaw Floorigami Scandi Chic Carpet Plank
Floorigami's Scandi Chic brings the feeling of comfort and cozy under your feet with these beautiful carpet tiles. The plush & silky softness is perfect for any room of the home, and the easy installation makes it the perfect flooring solution for any DIY-er level.
Shop Now >>
Heritage Carpet Tile
Heritage carpet tiles are the perfect low cost carpet tile solution for your unique space. Budget friendly, this stain resistant carpet tile is approved for moderate commercial traffic areas and for use in any room of the home.
Shop Now >>
Ribbed Carpet Tile - Quick Ship
Our Ribbed Carpet Tiles come in several colors that are sure to match any home decor. These floor tiles feature a self-adhering backing that makes for a quick and easy install as well as being mold and mildew resistant making them the perfect flooring for any room of the home.
Shop Now >>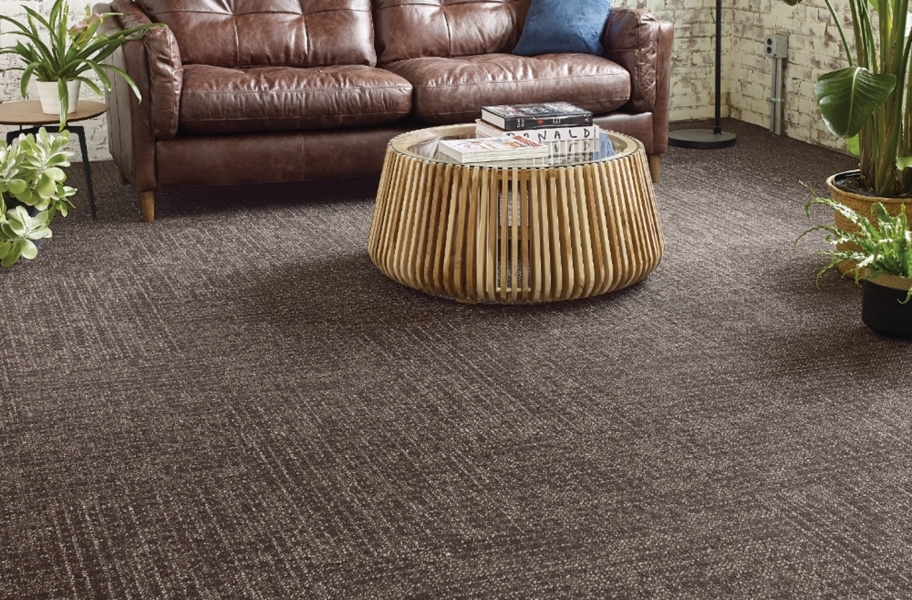
Shaw Weave It Carpet Tile
Weave It carpet tiles by Shaw are beautiful and a visual work of art. These unique modular carpet tiles are designed using a multi-level pattern loop, which creates depth and texture on the floor which you usually don't see.
Shop Now >>
